
Customer Project
Outdoor Citronella Candle Teak Lantern
Browse Projects
-
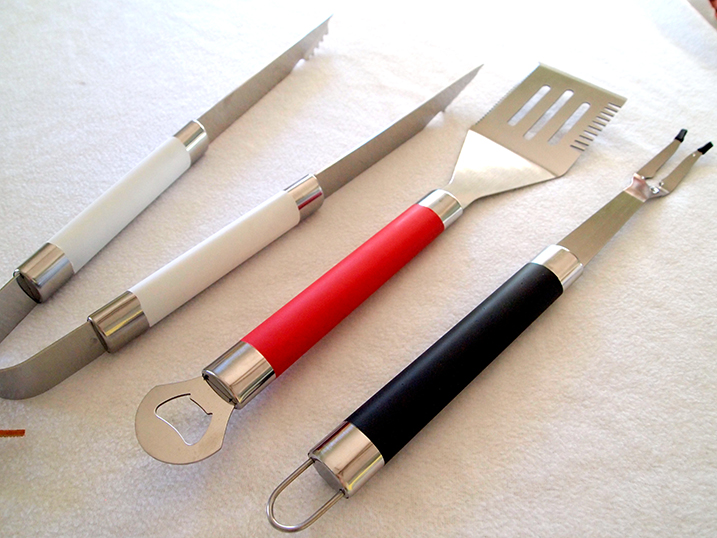
Grilling Utensils
-
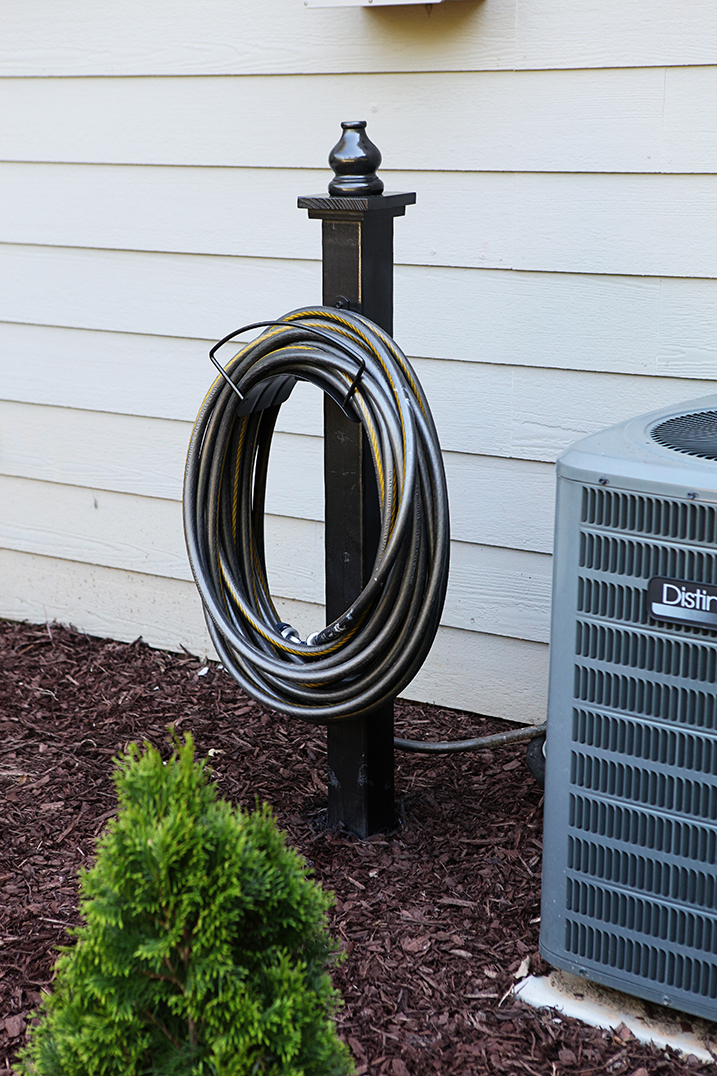
Decorative Hose Holder
-
Estimated Time
6 Hours
-
Challenge Level
Advanced
-
Tools & Supplies:
-
Sandpaper: grits 120, 180, 220
-
Stock Wood Material (Oak, Teak or Mahogany)
-
18 feet at 3/4x3/4"-Thick (Side Frames)
-
12 feet at 1/2x1/2"-Thick (Legs)
-
8 feet at 1/4x1/4"-Thick (Bottom Panel Frame)
-
9x9x1/4"-Thick Panel (Bottom Panel)
-
Radial Arm or Miter Saw
-
Table Saw
-
Waterproof/Polyurethane Glue
-
Pneumatic Pin Nailer Gun
-
~35’ Woven Wood Screen Made From ~1/16x3/4” Strips
-
Rag
-
4 Picture Frame Glass Sheets or Polycarbonate Sheets (optional)
-
Citronella or Indoor Glass-Contained Candle
-
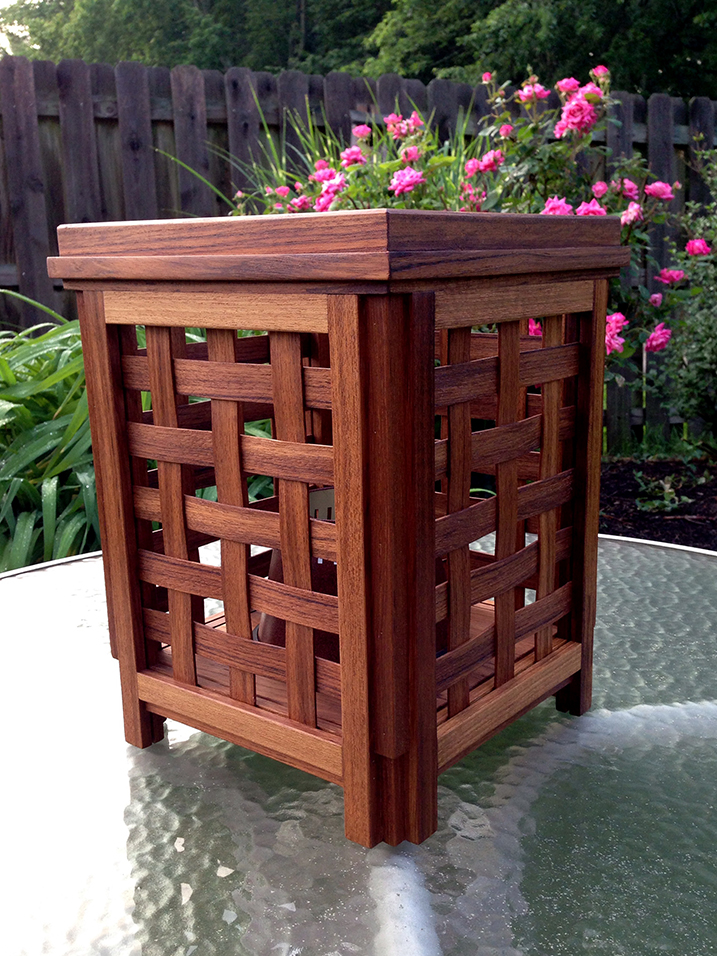
- Sand all of the stock wood material with progressive sandpaper grits prior to cutting to size.
- Cut and assemble the four side frames with the 3/4" thick material so the outside dimensions are approximately 8.5x12".
- Cut 3/8" deep grooves down the length of one side of each of the frame pieces (with a table saw) to fit the woven wood strips.
- Glue and pin nail the four frame pieces together.
- Cut 4 pieces from the 1/2" thick material approximately 10" long.
- Glue and nail the 10" long pieces to the outside corners of the four frame pieces.
- Based on design preference, frame the top and bottoms of the side frames with mitered pieces of the different-sized stock. Fit woven wood panels in the grooves. Glue and nail all of the pieces together.
- Cut four pieces of the 1/4" stock wood to sit inside the bottom of the frame, allowing the 1/4" thick panel to sit securely.
- Finish sanding all edges with 220-grit sandpaper.
- Apply two coats of teak oil to the lantern with a rag, and allow it to dry.
- Apply NeverWet to the lantern with a rag, and allow it to dry.
- For glass panel designs, cut pieces to fit the inside dimensions of the lantern and glue in place.
- Once everything is dry, place a candle in the lantern.