
Customer Project
Decorative Hose Holder
Browse Projects
-
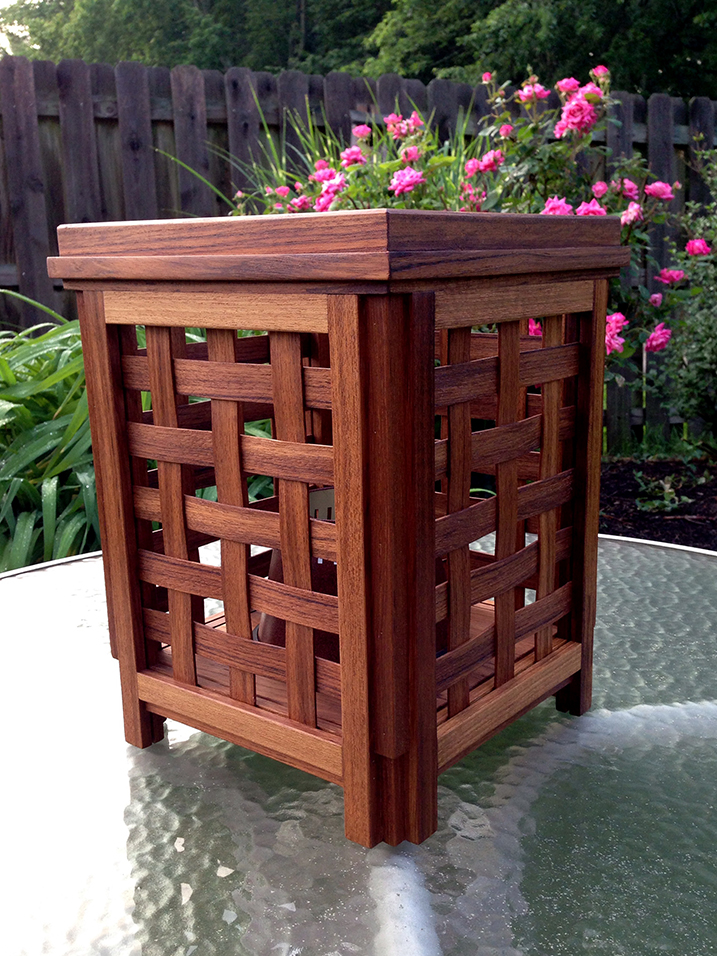
Outdoor Citronella Candle Teak Lantern
-
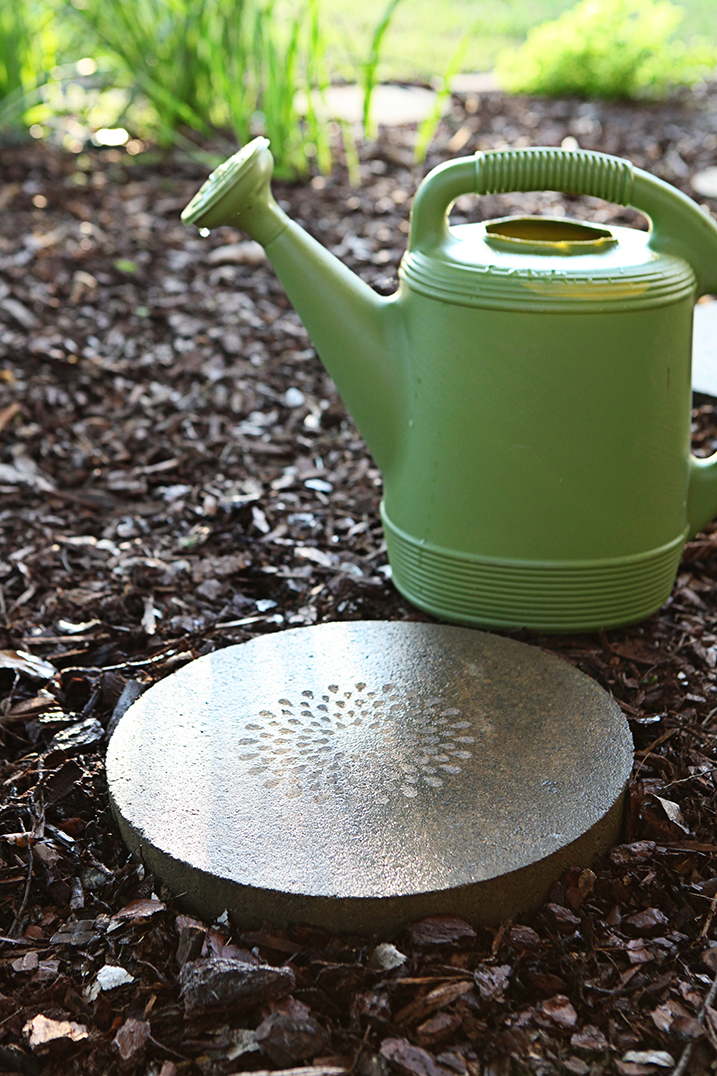
Stepping Stones
-
Estimated Time
2 Hours
-
Challenge Level
Intermediate
-
Tools & Supplies:
-
Old Sheets or Drop Cloth
-
Sandpaper: grit 220
-
Lint Free Cloth
-
Drill
-
(1) 3/4” x 6” x 6” Exterior Wood Piece
-
(1) 4” x 4” x 52” Exterior Wood Piece
-
Brad Nailer
-
(4) 1” x 1” x 5” Exterior Wood Pieces (mitered 45 degrees on each corner)
-
1 Classic Wood Bun Foot
-
Wood Filler
-
Hose Rack
-
Shovel
-
Concrete Mix
-
Level
-
Water
-

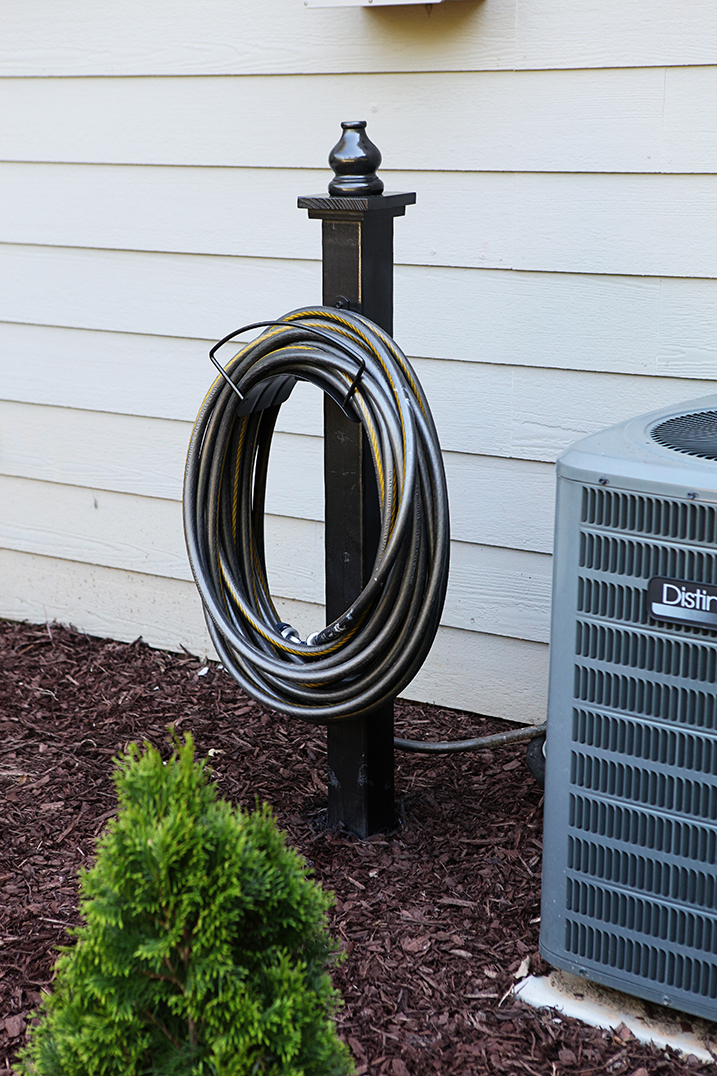
- Spread old sheets or a drop cloth on the ground outdoors to protect surfaces from paint.
- Sand all the wood pieces with 120-grit sandpaper, and remove dust with lint-free cloth.
- Drill a hole in the center of the 6” x 6” piece. This is where the bun foot will attach later.
- Attach the 6” x 6” piece of wood to the end of the 4” x 4” post using exterior screws.
- Using the brad nailer, attach the 1” x 1” pieces around the post, directly under the 6” x 6” piece of wood.
- Screw the bun foot into the pilot hole on the top of the 6” x 6” piece of wood.
- Fill all cracks and holes with exterior wood filler.
- Allow the wood filler to dry, then remove excess with sandpaper. Remove dust with lint-free cloth.
- Attach the outdoor hose rack to the post with screws, approximately 39” up from the bottom.
- Set the post on the drop cloth or old sheets.
- Hold the can of spray paint 8-12” away and lightly cover the wood in a steady back-and-forth motion, slightly overlapping each stroke.
- Allow paint to fully dry, approximately 30 minutes.
- Repeat steps 11-12 three more times while rotating the post until it is fully covered
- Dig an 18” hole in the ground with the shovel somewhere near where the hose will attach to the water supply.
- Pour concrete mix into the hole to a depth of 6”.
- Set post in the hole, and use the level to ensure it sits evenly.
- Fill the surrounding space in the hole with more concrete mix.
- Add hose water to the concrete, and allow it to dry before hanging the hose on the rack.