
Customer Project
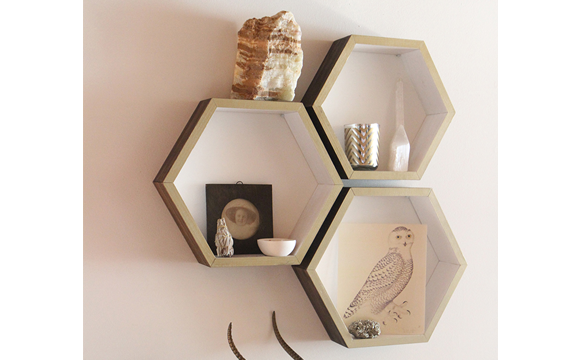
How to Make Hexagonal Shelves
Browse Projects
-
Glowing Pumpkin
-
L-O-V-E


-
Estimated Time
4 Hours
-
Challenge Level
Advanced
-
Tools & Supplies:
-
2.5 x 10 cm lumber
-
Miter saw
-
Measuring Tape
-
Pencil
-
220 Grit Sandpaper
-
Rags or Tack Cloth
-
18-Gauge Brad Nailer
-
Wood Glue
-
Sponge Brush
-
Floor or Surface Protection
-


- Set miter saw at 30 degrees. Stand 2.5cm x 10cm vertically on the saw and make an initial cut at 30 degrees.
- 20cm from the outside corner of the cut and mark the top of the lumber there for the second cut. Cut the 2.5cm x 10cm at the mark (again at 30 degrees).
- Repeat measuring and cutting as above until there are six pieces.
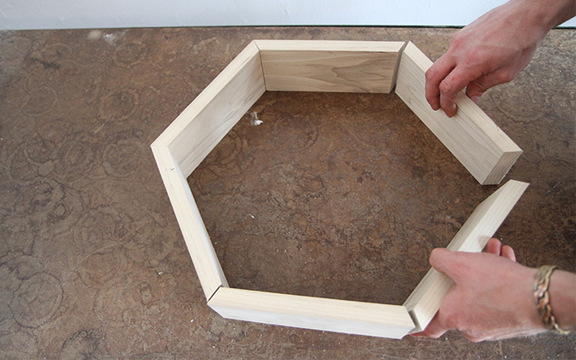
- Do a dry assembly to make sure everything lines up.
- Sand each piece lightly to remove any rough edges or imperfections.
- Remove the dust with a damp rag or tack cloth.
- Determine the desired colours for each side of the shelf pieces (minus the back edges) and label very lightly with a pencil accordingly.
- Line up the pieces and spray-paint the front edges and outer side of each shelf piece according to the manufacturer's instructions.
- Separate the pieces and let dry.
- Lay the pieces flat in a row with the short side (what will be the shelf interior) up and paint/let dry as above.
- Apply glue to the mitered edge of one piece. Hold the mitered corners of two pieces together and use three nails to secure them. Repeat gluing and nailing until the hexagon is complete, removing excess glue with a damp cloth as needed. note: If you use a dry cloth, the glue soaks into the wood grain.